
frogblue AG, Luxemburger Straße 6, 67657 Kaiserslautern, Germany, Tel. +49-631-520829-120, info@frogblue.com frogblue TECHNOLOGY GmbH, Luxemburger Straße 6, 67657 Kaiserslautern, Germany, Tel. +49-631-520829-0, info@frogblue-tec.com
Note Reprinting and photomechanical reproduction are only permitted with our express permission. The printed products issued by frogblue AG provide information to the best of our knowledge, but any statements made are not legally binding. All illustrations and photographs of the products shown are not binding regarding color, dimensions, and equipment. We reserve the right to make changes and updates in the interests of progress.
Kaiserslautern, November 16th, 2023
1 About this manual
This manual describes how to use the frogControl app for simple control of intelligent smart home applications. You will learn:
- ✓ how to import a project created using the frogProject app,
- ✓ how to control the lighting, roller shutters, or ventilators,
- ✓ how to configure frogDisplay.
Note How you can plan, configure, and control a frogblue system using the frogProject app is described in the → frogProject User Manual.
1.1 Who is the manual for?
This manual is intended for users and anyone who wishes to plan, configure, and manage smart home applications.
1.2 Typographical conventions
The following typographical conventions are used in this manual:
| Example | Meaning |
|---|---|
Command |
A command or code is shown in Courier. |
| Screen text | Text that is visible in the user interface is marked in bold. |
| Reference | References are marked in italics. |
1.3 Abbreviations
| Abbreviation | Meaning |
|---|---|
| Bluetooth LE | Bluetooth Low Energy |
| KNX | Fieldbus for building automation |
| LED | Light Emitting Diodes |
| SIP | Session Initiation Protocol |
| VPN | Virtual Private Network |
| WLAN | Wireless Local Area Network |
2 frogblue – introduction and overview
Decentralized Bluetooth® network with automatic configuration
frogblue devices are connected to the mains and use wireless Bluetooth® technology to transmit switching commands and data. You therefore do not require any special cables, IT infrastructure or Internet. Communication with smartphones and tablets takes place directly via Bluetooth® without additional devices. frogblue guarantees the highest possible data security based on double encryption of the data, because in addition to the Bluetooth® encryption the frogblue data is also coded a second time (128-bit rollover).
The frogblue system is fail-safe, as the decentralized intelligence means a central unit for function control and communication is not necessary. If two units are outside the Bluetooth® range, any frogblue devices in between will forward messages. For users and installers, this happens automatically and without programming. The switching commands and data information automatically find their way through the frogblue network.
If the frogblue devices are to be controlled remotely via the smartphone app, this takes place via a secured VPN connection and the Internet to a frogblue Display unit in the house (with a WLAN connection). The double encryption and the VPN connection and frogblue messages guarantee a very high level of data security.
Configuration via naming of messages
The connection between switching inputs and switching outputs (for example between a photoelectric proximity switch and a lamp) is made by naming messages assigned to the inputs or outputs in the frogProject app. If the message for the switching input as well as for the switching output has the same name (for example “Kitchen light”), this establishes the connection between the two devices and their inputs or outputs. If another output with the same name (here “Kitchen light”) is on an additional device, both outputs will be virtually connected to each other and will switch synchronously.
The same applies to other inputs with the same name, so that multi-way switching is easy to realize with multiple light sensors. Switching inputs and outputs can be allocated as desired. The linking and message transmission to the switch take place automatically without further configuration.
Typing and space-based switching operations
The effort required for configuration is minimized by categorizing the inputs and outputs according to type and by configuring the devices room by room. To do this, the individual frogblue devices are allocated to a room (for example “Living room”), and their inputs and outputs are typed, which means an output may be marked as a light or roller shutter control or an input may be marked as a light sensor. These devices are then automatically linked by way of the “light on in the living room” type switching command without any further configuration and without assigning names to the inputs and outputs. It does not matter how many devices or inputs and outputs there are in a room.
Such a typing switching command “light on in living room” can be put on any switching input of frogblue devices to switch on the light in that room or start the shadowing from another location, without knowing the number of devices and switching outputs in that room.
Parameterization of switching signals
All switching outputs can be parameterized individually and very specifically So, amongst other things, the duty cycle, soft starts, dimming characteristics, delayed switching on and off and much more can be configured. The switching inputs can also be parameterized so that a different duty cycle or brightness of the lamp can be realized depending on the switch, for example a different switch-on duration or brightness of the lamp can be implemented depending on the switch.
Overlay of switching signals
Inputs and outputs can have multiple names and thus trigger different switching operations or actions simultaneously. A light switch can switch on the living room and dining room lights simultaneously, for instance, and send different messages with different parameters depending on how the button is pressed (short press, long press, double click etc.). The overlay of messages to the outputs can allow convenient scenery control or the signaling of incidents, such as the kitchen light blinking when the doorbell rings.
System-wide functions through macros
For the simple configuration of central commands, such as central switching of multiple lamps, macros can be defined and assigned to the devices. If, for example, the central input (central control command for light) on all switches be converted from “double-click” to a “triple click”, this only needs to be changed in one place, which is the macro. These macro functions ensure a clear configuration and significantly reduce the configuration effort.
Time control
All frogblue units have time functions for switching. Lamps or roller shutters can be controlled decentral by the devices themselves by way of a weekly schedule. This means that a central unit is not necessary. The time in the individual frogblue modules is synchronized via the Bluetooth® network with special frogblue devices with battery-buffered clocks or GPS time receivers. The frogblue display can as an option be supplied with the current time via its WLAN interface from a time server on the Internet.
This automatic time synchronization via the Bluetooth® network ensures that even after a power failure in all devices, the current time is again available within seconds. Of course, this time synchronization via the frogblue network is encrypted in addition to the Bluetooth® and therefore offers the highest possible security against manipulators.
Logic module decentralized in all devices
In every frogblue device, input and output signals of other frogblue devices can be linked system-wide. So, for example, a lamp can be switched on in addition to the normal operation by overlay for as long as a door is open (once a door contact signals this to a frogblue input module). The logic linking of multiple signals, including together with time conditions or a weekly schedule, is possible and is done decentral in the frogblue devices.
The typing of input signals with attributes, such as window contact, brightness sensor or frost monitor, allows fast implementation of sophisticated logic and control functions. With these functions for example, a children’s room lamp can be limited to 30% of the maximum rating or an alarm can only be triggered by open doors on weekends.
Data backup of all data in one file
The entire project configuration of all frogblue data, this is both the configuration data of all frogblue units and the settings on the app such as passwords and project data, is stored in a single system backup. This system backup can be secured in every single frogblue unit and sent by email. This means that all data of a frogblue installation are stored in only one file.
End users are informed by the display or the frogProject app that they are in possession of all the necessary configuration data for their frogblue system. This ensures that the system configuration is available for maintenance by third parties at any time, even if the electrician cannot be reached. The end user also needs the associated project password of course.
Platform-independent on Android, iOS, and Windows
The frogblue software runs on Android, iOS, and Windows. The end user app (frogControl) is identical to the app on frogDisplay, so when using a smartphone or tablet, the user simply must become accustomed to a user interface.
2.1 frogblue software – overview
The following frogblue software is available for controlling and configuring a frogblue system:
 With the frogControl app you can easily control the frogblue units for a project set up and configured with the frogProject app.
You will find detailed information on how to use the frogControl app in this manual.
With the frogControl app you can easily control the frogblue units for a project set up and configured with the frogProject app.
You will find detailed information on how to use the frogControl app in this manual.
 With the frogProject app you can plan, configure, and control a frogblue system. This app provides you with all the features you need to create and manage both simple and sophisticated smart home applications.
You find detailed information on how to use the frogProject app in the → frogProject User Manual.
With the frogProject app you can plan, configure, and control a frogblue system. This app provides you with all the features you need to create and manage both simple and sophisticated smart home applications.
You find detailed information on how to use the frogProject app in the → frogProject User Manual.
frogware (firmware): The software in the frogblue devices (frogs, frogKey, frogLink, frogDisplay) that contains the system configuration and controls the frogblue system. You can configure frogs using the frogProject app and in reduced form with the frogControl app. For information on updating the frogware, see the → frogProject User Manual.
3 Installation
You can use the frogControl app on the operating systems Android and iOS for tablets and smartphones.
Note about frogDisplay For information on installing the frogware and the frogControl app for the frogDisplay contained in it, see the → frogProject User Manual.
You can download the frogControl app from the Google Play Store and the Apple App Store.
 Search the Google Play Store for frogControl.
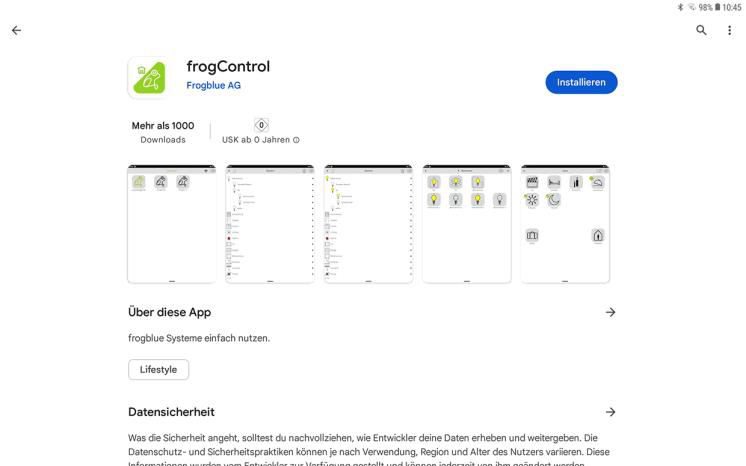
In the Google Play Store, tap Install to install the app.
 Search the Apple App Store for frogControl.
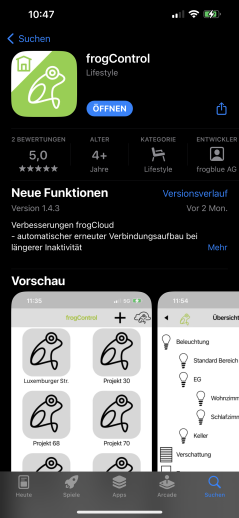
In the Apple App Store, tap Install to install the app.
3.1 Starting the frogControl App
Note Make sure Bluetooth® (version 4.2 or higher) is enabled on your tablet or smartphone. Android: Settings -> Connections -> Bluetooth iOS: Settings -> Bluetooth
To start the frogControl app, tap frogControl on your tablet or smartphone after installation.
Allow access to the location of the device when you start the frogControl app for the first time. This is required by Bluetooth®.
Allow access to the photos, media, and files so that configuration files can be saved.
Assign a name to the tablet. This can be used to determine on which tablet a configuration was created.
The frogControl app start page is displayed. Depending on the settings, either the project list or the last opened project is displayed on the start page.
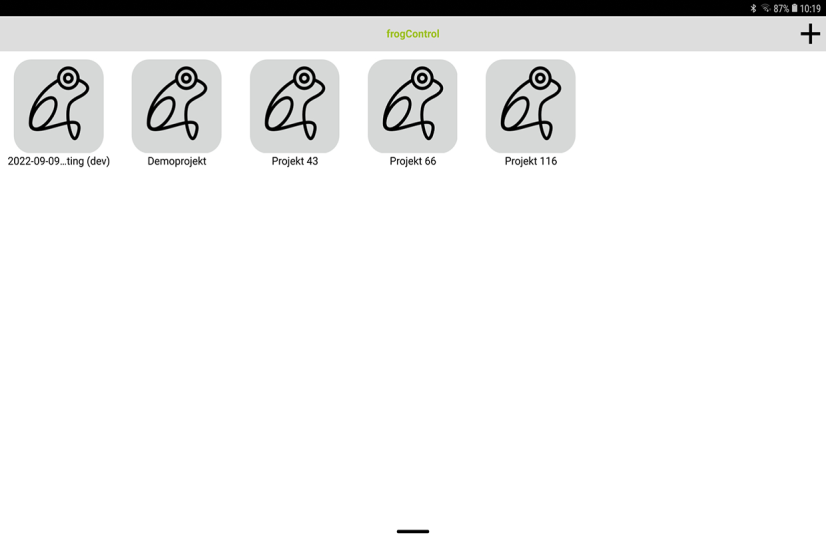
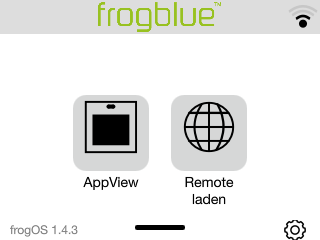
Start by importing a project that you have configured and exported in the frogProject app, see → Importing a project.
4 Importing a project
Devices and frogs are configured in a project using the frogProject app.
You can only use the frogControl app to control devices such as lamps and doors if you have previously imported a project created using the frogProject app.
To do this you have to save and export a project created with the frogProject app as follows:
- In the frog: All data for a project is stored in a frog.
- In a frogControl configuration file: All data for a project is saved in a file or exported to a frogControl configuration file. This file is stored in the Documents folder on the Android tablet. On an iOS device, the file is stored in the Files app in the frogProject folder.
For detailed information on saving projects to a file or frog, see → frogProject User Manual.
frogDisplay: Importing projects For information on importing projects onto a frogDisplay, see → frogProject User Manual.
Depending on how you have saved or exported the data using the frogProject app, you can import the project into the frogControl app:
- Importing a project from a frog: The data of a project is located by the frogControl app in a frog within reach. The data can then be downloaded from the frog and imported into the frogControl app. Information on importing a project from a frog, see → Importing a project from a frog.
- Importing a project from a file: The file with the project data is transferred to the device with the frogControl app installed on it and imported into the frogControl app. Information on importing a project from a file, see → Importing a project from a frogControl configuration file.
You can import multiple projects into the frogControl app. If multiple projects have been imported, a list of the imported projects will be displayed when you start the frogControl app.
4.1 Importing a project from a frog
To be able to download project data from a frog and import it into the frogControl app you require the project password of the project in question and the device key.
Project password and device key To be able to save a backup or configuration in a frog and then load them again from the same place, a device key is required. When you create a new project in the frogProject app and assign a project password to a project, this automatically creates an identical device key. The project password can be shared with third parties, for example a technician who has configured the project. Once the project configuration is complete, you should change the device key to protect the configuration in the frogs from unauthorized access. Once the device key has been changed, the project password can still be used to configure the frogProject app on the tablet, but the configuration can only be uploaded onto the devices with the altered device key. For further information on the project password and device key, see the → frogProject User Manual.
-
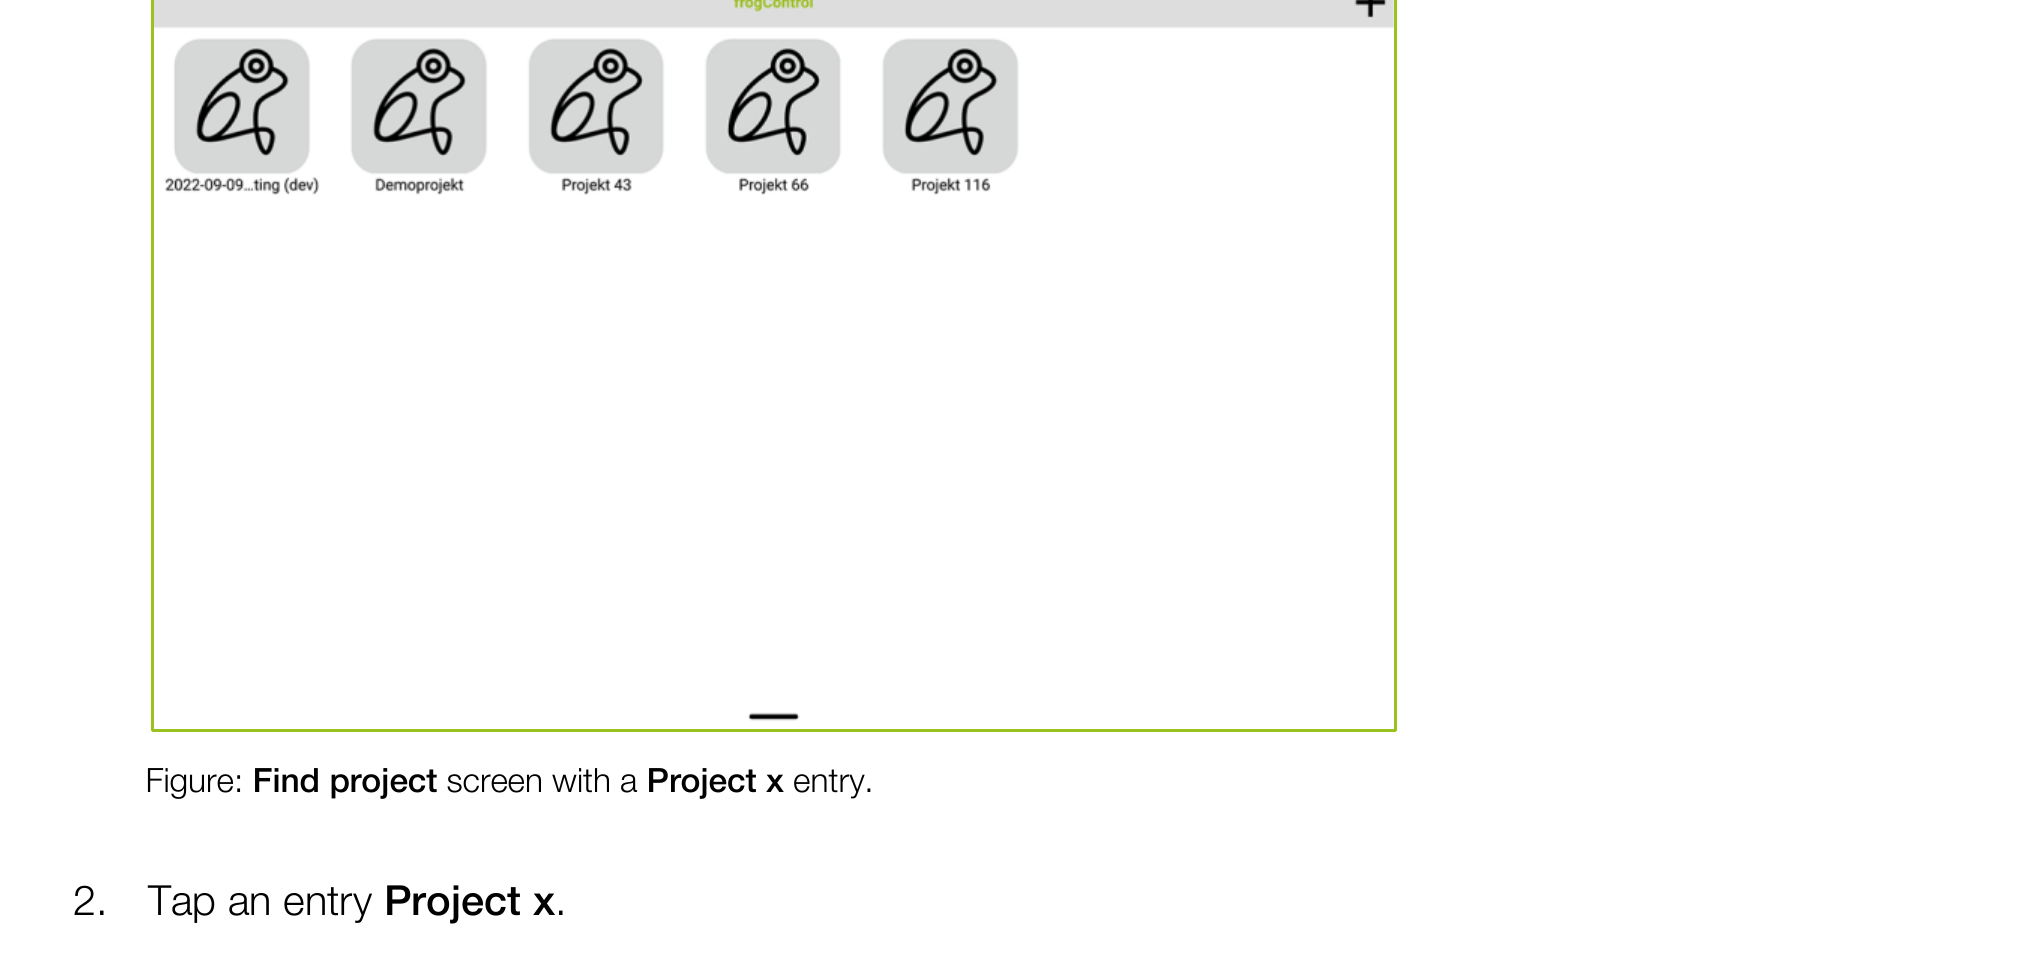
Open the frogControl start page.
If no project has been found in a frog before, the Project x entry is displayed.
If several projects are displayed, the desired project can be identified based on the ID. The ID is also displayed in the frogProject app under Project management.
-
Tap an entry Project x.
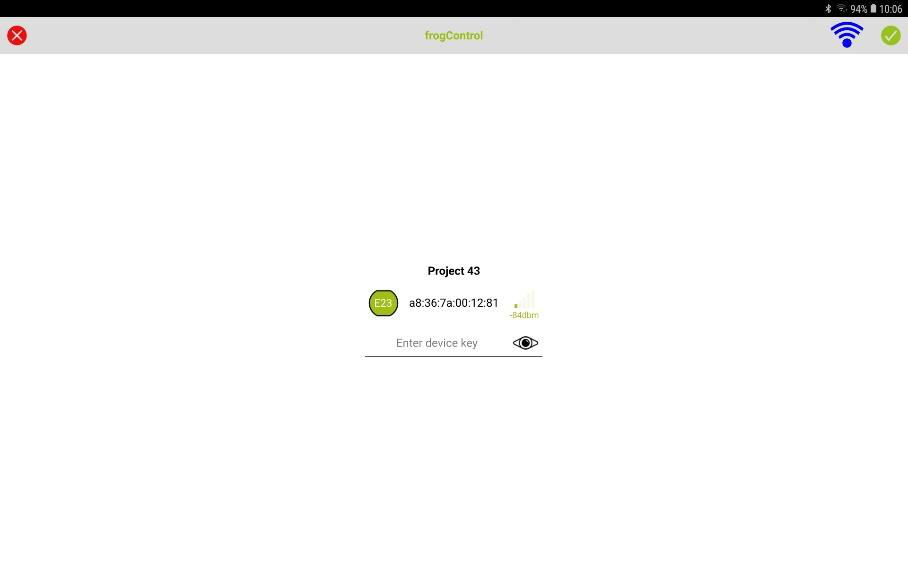
The frogControl screen is displayed.
-
In Enter device key, enter the device key that was assigned to the project backup on the frogblue device.
-
Tap the download icon.
A Bluetooth® connection is established with the frogblue device. The project data stored on the frogblue device is displayed.
The project data is loaded into the frogControl app.
The project can now be used in the frogControl app.
Note that when the project is the first time opened, it is necessary to enter the project password.
4.2 Importing a project from a frogControl configuration file
The first step is to transfer the exported data stored in a frogControl configuration file from the frogProject app to the device where the frogControl app is installed. Depending on whether the frogControl app is used on an Android or iOS device, the procedure for transferring the frogControl configuration file differs.
In the second step the transferred data is imported into the frogControl app.
4.2.1 Transferring a frogControl configuration file to an iOS device
To transfer a frogControl configuration file from one iOS device to another iOS device, you can use AirDrop. The frogControl configuration file is automatically saved in the correct directory.
To transfer a frogControl configuration file from an Android tablet to an iOS device, the following options are available:
By e-mail
If an e-mail mailbox is configured on both the Android tablet and the iOS device, you can e-mail the file to the iOS device. On the iOS device, save the file in the Files app in the frogControl directory.
Via iTunes
Save the frogControl configuration file on a Mac or PC.
- Open iTunes on your Mac or PC.
- Connect your iOS device to the computer with a USB cable.
- Select the iOS device in iTunes.
- Click Share in the left-hand sidebar.
- Select the frogControl app.
- Click Add and select the project file on your computer.
- Click Done and synchronize your iOS device with your computer.
4.2.2 Importing a frogControl configuration file into the frogControl app
If you have transferred the frogControl configuration file onto your Android or iOS device with the installed frogControl app, you can import it from there. You can import several files or projects.
-
Tap Add on the start page (project list is displayed).
— or —
In an open project, tap Setup in the menu, then Project and Change project. Tap Add
-
Tap Import.
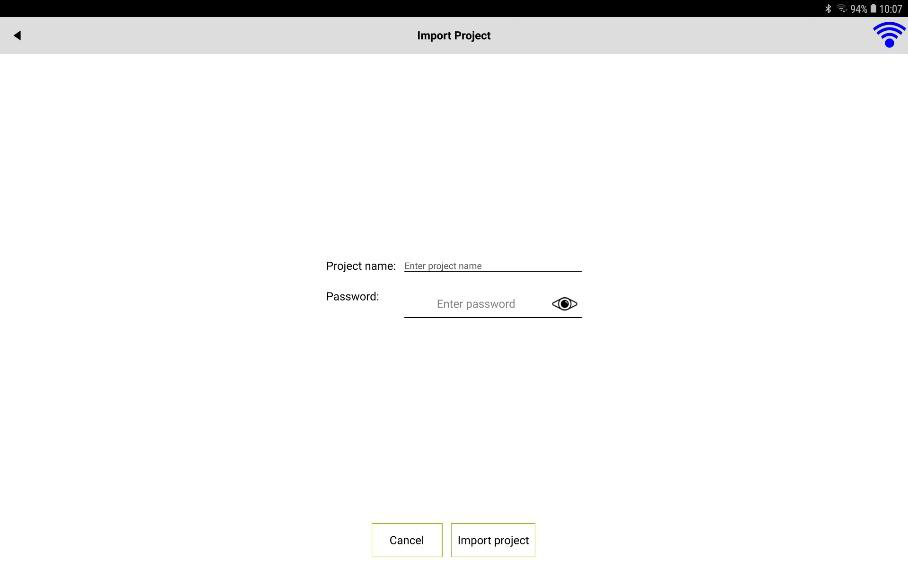
The Import Project screen is displayed.
-
Tap Enter project name.
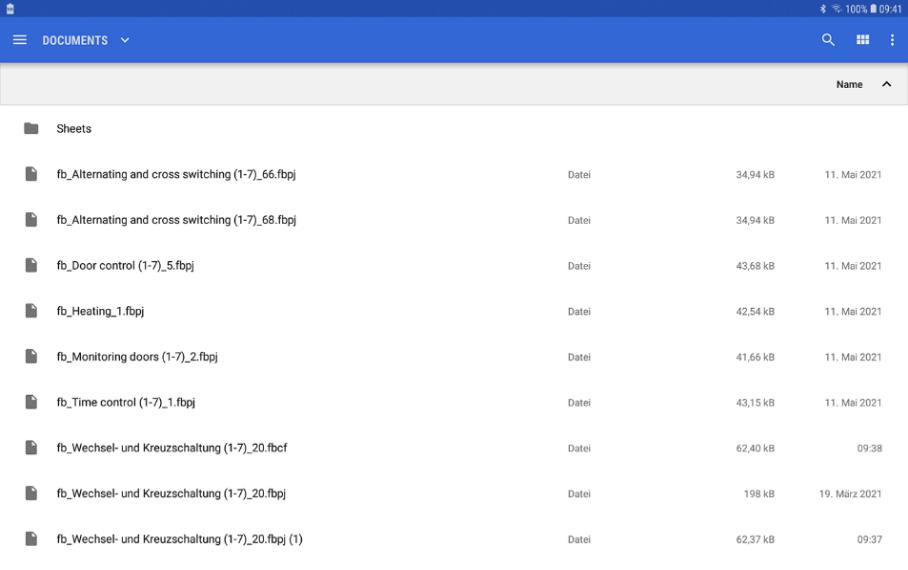
A screen for selecting a project is displayed.
-
Tap the desired project.
The selected project is shown in the Import Project screen.
-
Under Enter password enter the project password of the project you wish to import.
-
Tap Import project.
The data is imported, and the project is available in the frogControl app.
4.3 Loading a project via remote
You can load a project from a frogDisplay to a tablet if the frogDisplay and the tablet are connected via the WLAN. This allows you to make a configured project on the frogDisplay, where for example new users have been created, also available on a tablet.
The following steps are necessary:
- Activate Direct Connection in the frogDisplay and the tablet.
- Connect the tablet and the frogDisplay with the same WLAN.
- Transfer the project from the tablet to the frogDisplay.
Activating Remote Access in the frogDisplay and the tablet
The remote access is activated in the frogDisplay as well as in the frogControl app in the Setup.
- In the Menu, tap Setup and then Network.
- Tap Direct Connection.
- Activate Direct Connection.
For information on the direct connection, see → Direct connection.
Connecting the tablet and the frogDisplay with the same WLAN
To load a project from the tablet to a frogDisplay via WLAN, both devices must be connected to the same WLAN.
For information on configuring a WLAN for the frogDisplay, see → WLAN.
In the tablet, the frogControl app uses the WLAN settings of the tablet.
Transferring a project from the frogDisplay to the tablet
-
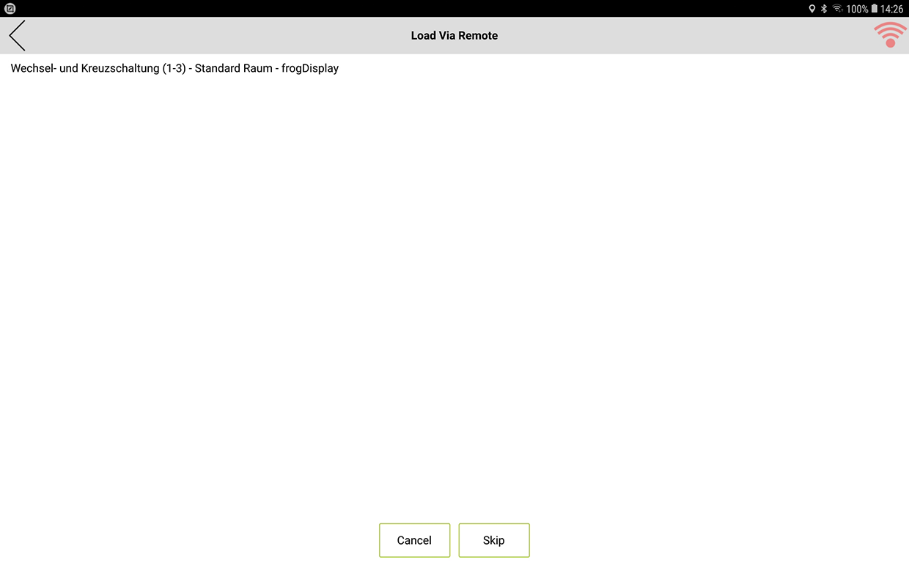
Tap Load Via Remote on the tablet on the start screen of the frogControl app.
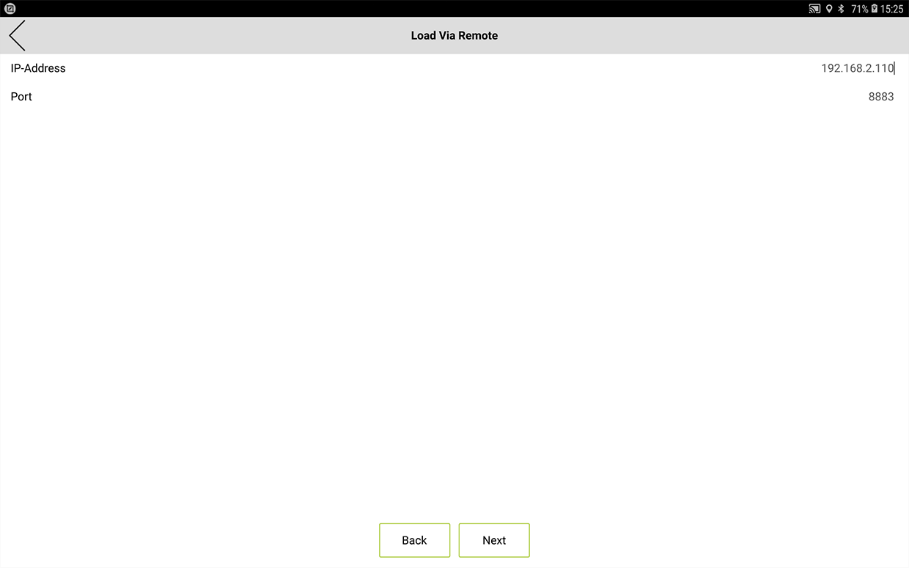
Note When dialing into the frogDisplay via port forwarding the connection is not automatically detected. Then tap Skip and enter the correct IP-Address and the Port.
-
Tap the project that you wish to load remote.
The project is highlighted in green.
-
Tap Next.
A screen with the IP address and the Port of the frogDisplay is displayed.
-
Tap Next.
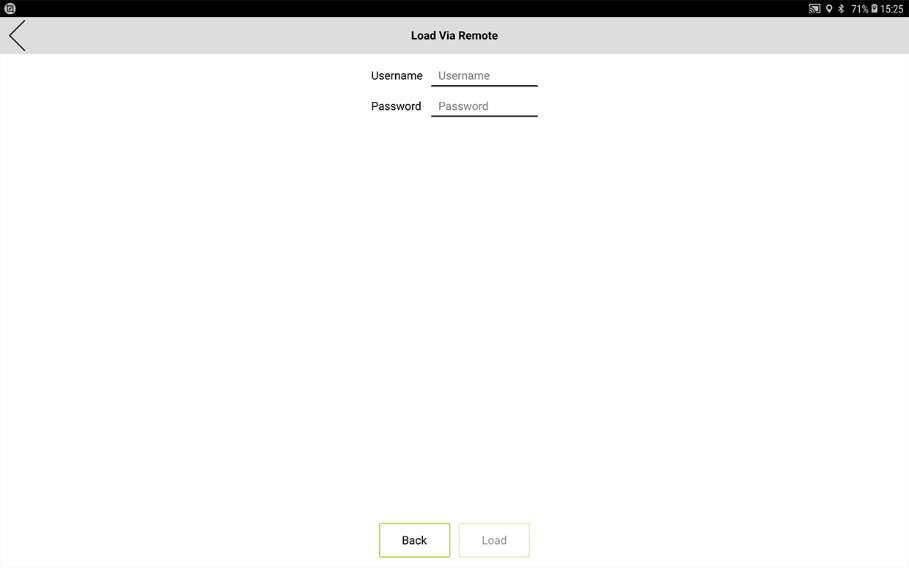
A screen for entering the username and project password is displayed.
By default, the Admin user with the project password is set up in the frogControl app.
You can change the password of the Admin user in the Setup under Permissions. The advantage is that the project can be loaded to the mobile devices even without the project password.
-
Enter Admin as username.
-
Enter the project password of the project to be imported.
-
Tap Load.
The project is transferred from the frogDisplay to the tablet.
5 Opening a project
This chapter shows you which page is available after opening a project.
5.1 Android and iOS devices
Tap a project on the frogControl start page to open it.
The Overview screen is displayed.
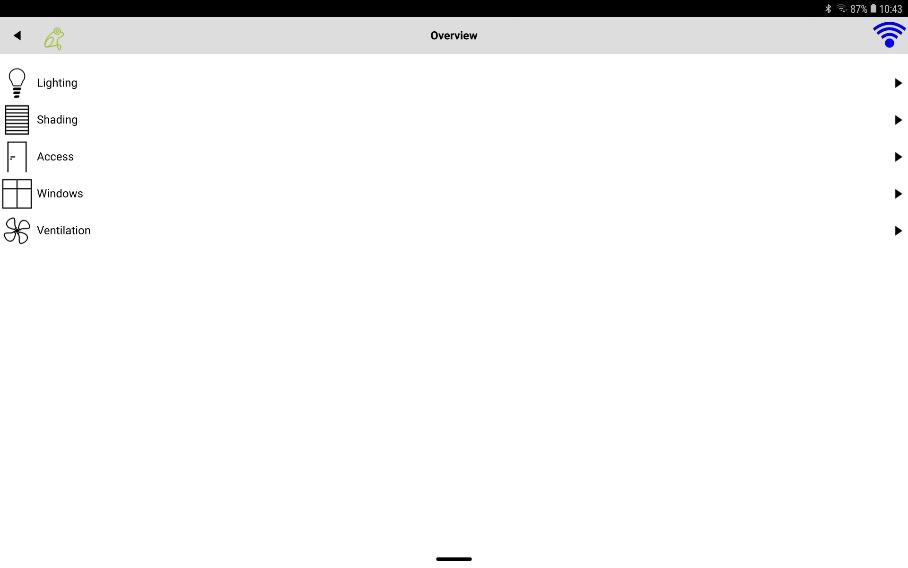
Information on the Overview screen, see → Overview screen.
Tap the menu icon in the title bar to open the Menu.
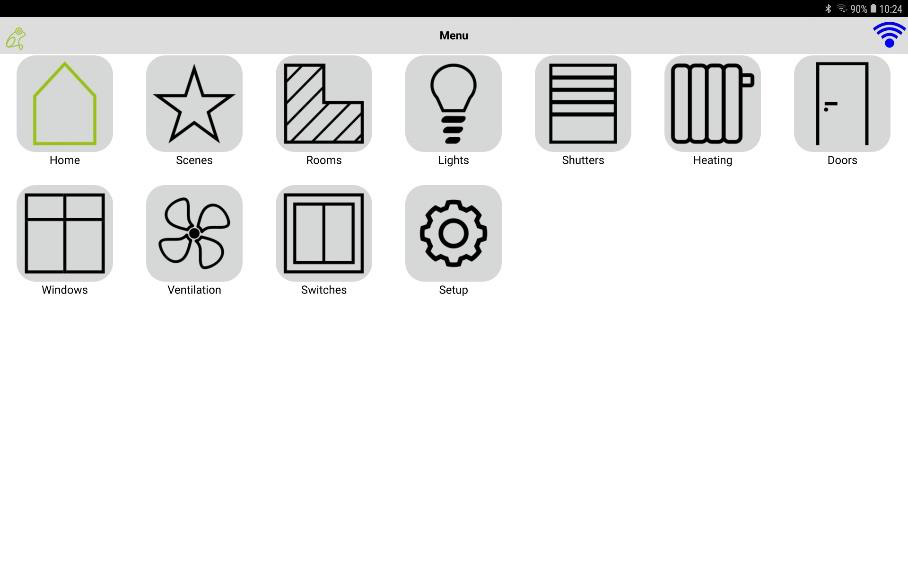
For information on the Menu, see → Views and functions in the menu.
Short tap on the Home icon to return to the Overview screen.
Long tap on the Home icon to return to the frogControl start page.
5.2 frogDisplay
Tap AppView on the start page to open the start screen for the project.
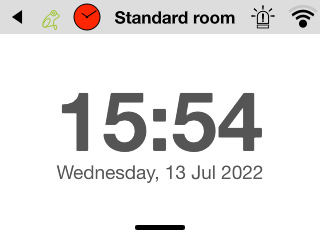
Tap Standard room in the title bar to open the Menu.
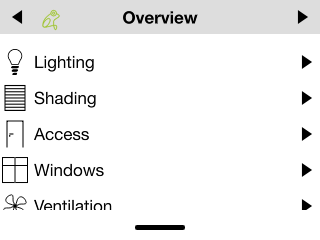
For information on the Menu, see → Views and functions in the menu.
Short tap the home icon to return to the start page of the project.
Long tap the home icon to return to the start page.